
이전 포스팅에서 AWS EC2 설정을 완료했으니 이제 실제 사용할 툴들을 설치해보겠다.
먼저 GitLab을 설치하자. 앞 포스팅에서 언급했듯 Docker로 설치하겠다. 편하니까.
GitLab 설치하기 with Docker
1. Docker Hub에서 GitLab Image 확인
먼저 Docker Hub에 접속해 어떤 image를 사용할지 확인해보자.
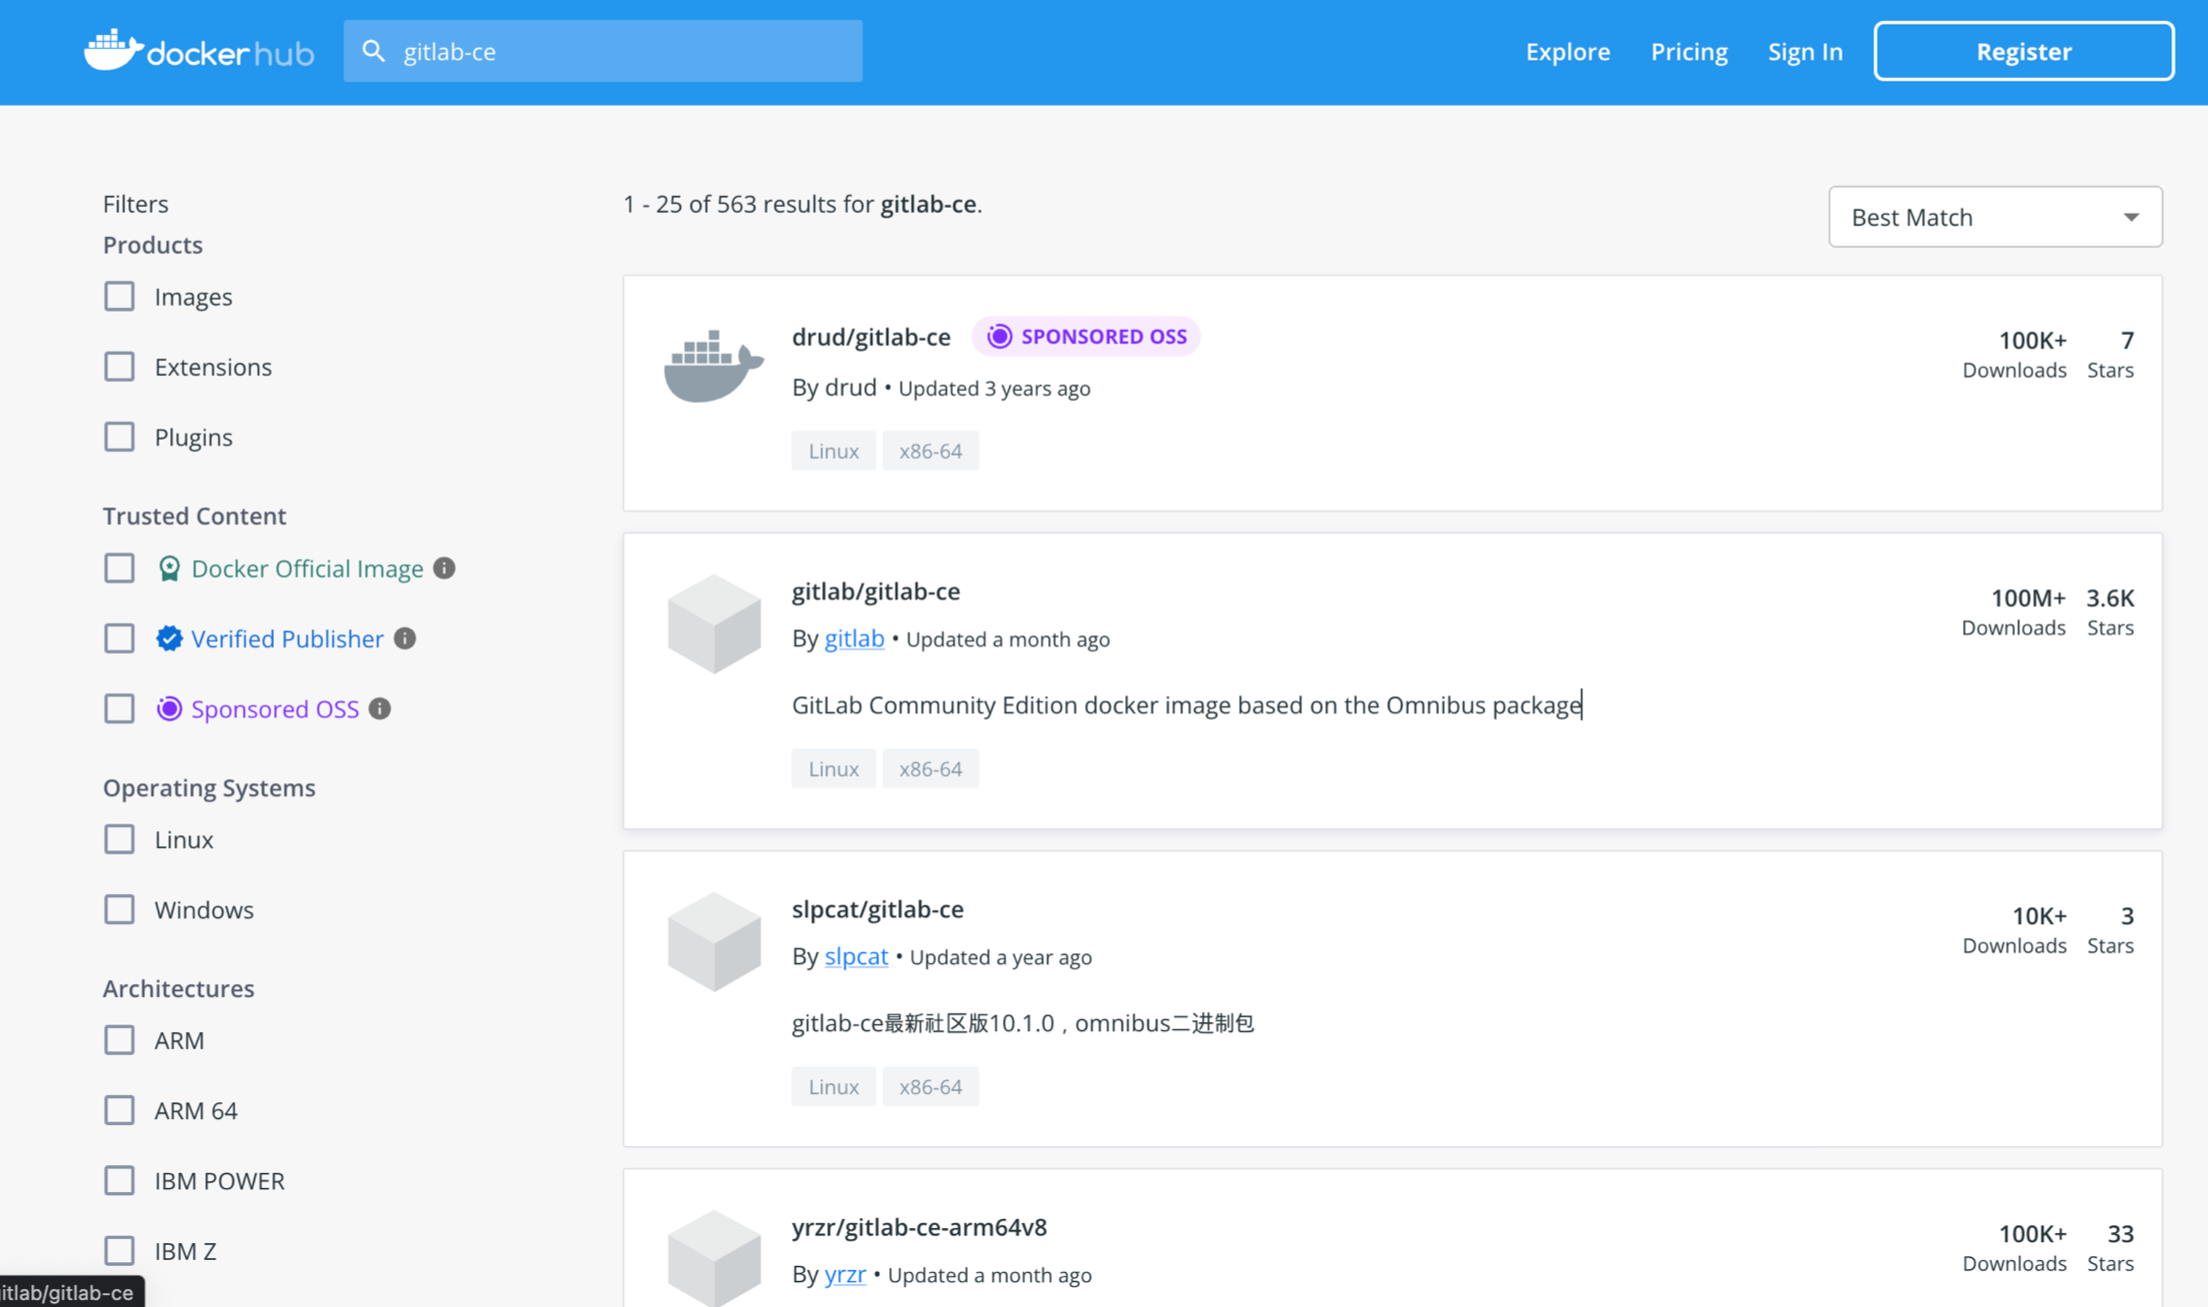
Docker Hub 접속 후 gitlab-ce를 검색해보자.
(참고로 gitlab-ce에서 CE는 Community Edition의 약자로 MIT 라이선스이다. gitlab-ee도 있는데 EE는 Enterprise Edition의 약자로 별도 라이선스다. 유료일수 있다는 얘기지. 많은 솔루션에서 CE/EE 구분이 되어있으니 참고하자.)
두번째꺼가 내가 사용해볼 gitlab-ce 이미지이다. 클릭해 접속해보자.
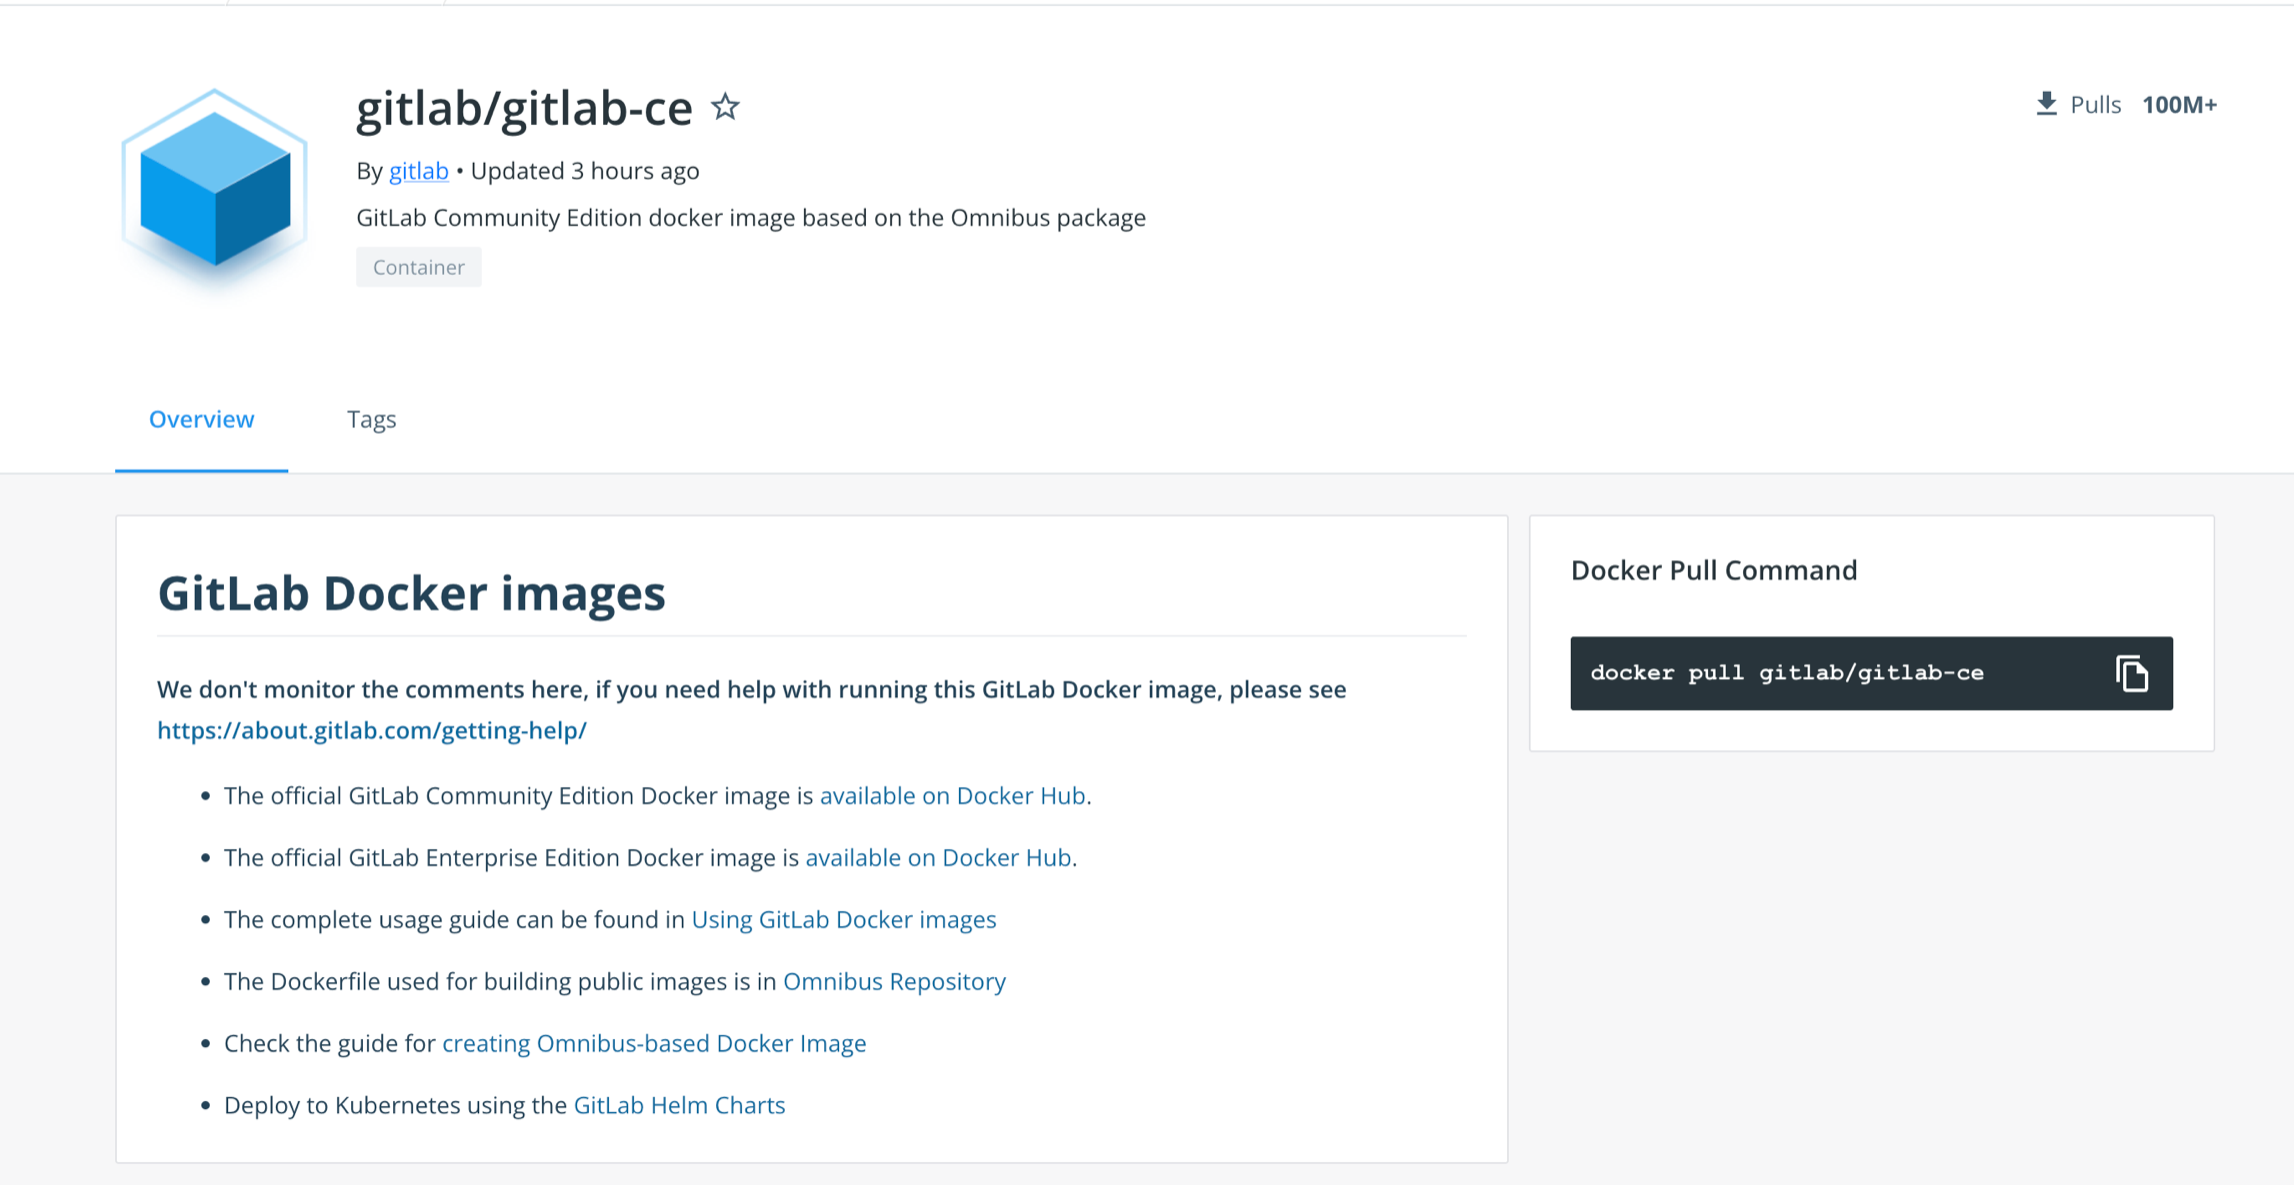
간단하게 이미지에 대한 정보와 pull 명령어가 써있다. 개인적으로는 latest보다는 직접적으로 버전 tag를 붙여 pull하는 방식을 선호한다. 그래야 내가 어떤 버전을 사용하고 있는지 직관적으로 알 수 있다.
아래 화면에서 Overview 옆 Tags로 이동해 어떤 태그들이 있는지 보자.
버전별로 태그들이 잘 정리되어 있다. 나는 latest에 해당하는 버전을 확인하고 그 버전 태그를 이용해 이미지를 받을거다.
latest 태그의 DIGEST 값을 복사해 찾기로 검색해보면 동일한 DIGEST의 다른 태그값들을 확인할 수 있다.
(DIGEST 값은 해당 이미지의 고유 값이라 보면 된다.)

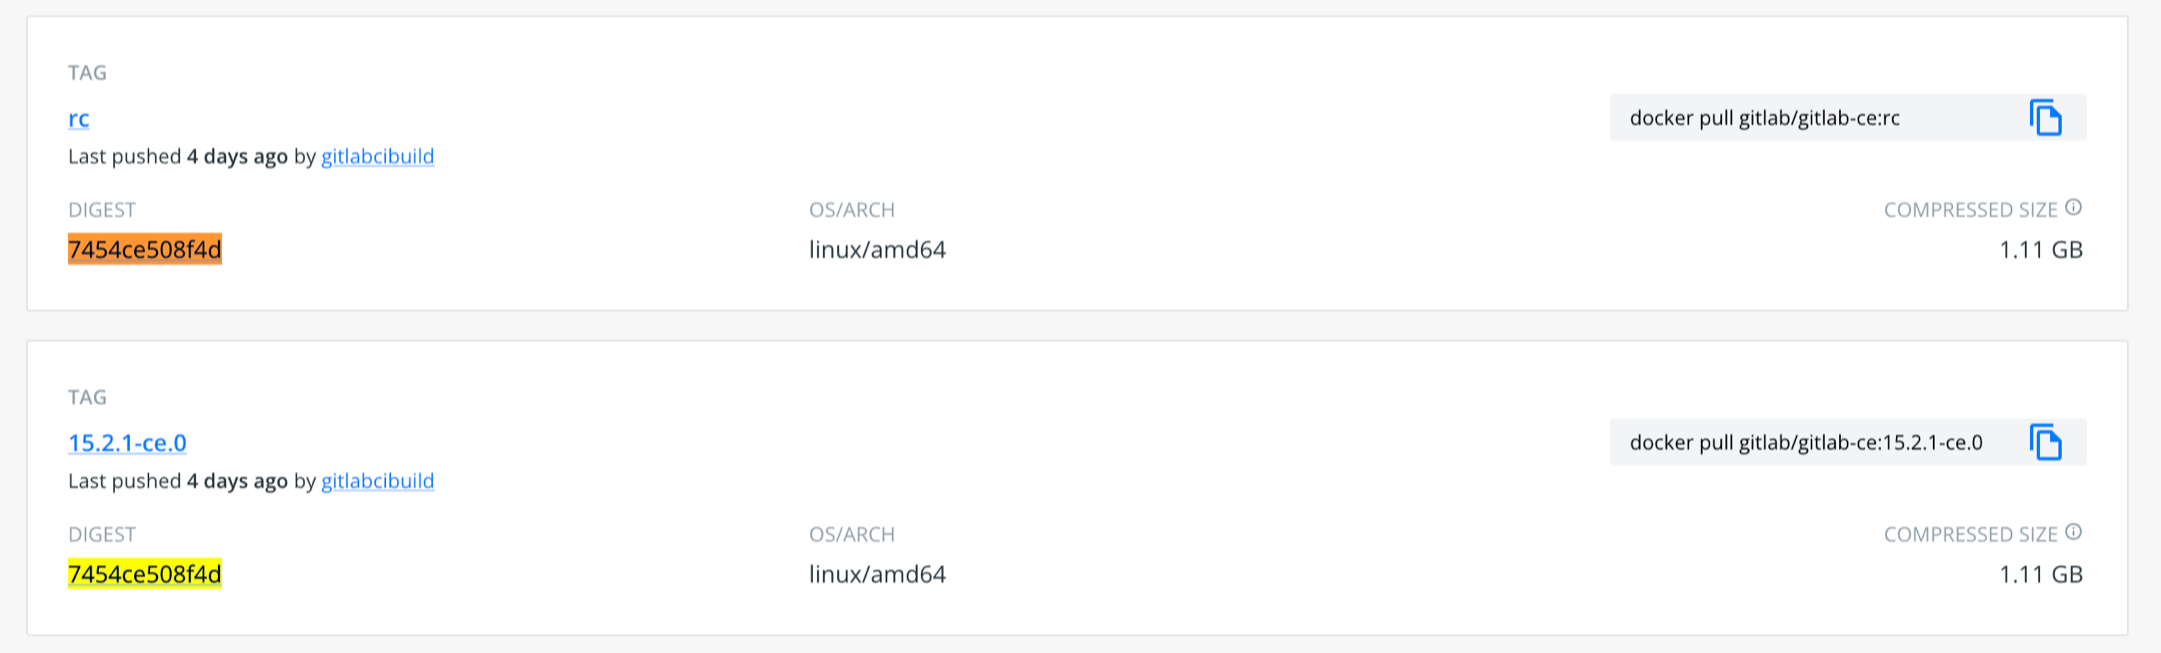
위 결과를 보면 결국 latest = rc = 15.2.1-ce.0 세개 태그는 같은 이미지를 가리킨다.
난 15.2.1-ce.0 태그를 이용해 이미지를 pull 해야겠다.
2. GitLab EC2 인스턴스 접속
이전 포스팅에서 확인했던 대로 GitLab을 설치할 EC2 인스턴스에 접속해보자.
ssh -i "aws_key.pem" ubuntu@ec2-43-200-25-92.ap-northeast-2.compute.amazonaws.com
습관처럼 apt update, apt upgrade를 진행해주자.
(참고로 apt update와 apt upgrade는 다른 명령이다. update는 apt 패키지 리스트를 업데이트하는 명령이고 실제 설치된 패키지들을 최신 버전으로 업데이트하는건 upgrade 명령이다.)
ubuntu@ip-172-31-60-34:~$ sudo apt update
Hit:1 http://ap-northeast-2.ec2.archive.ubuntu.com/ubuntu jammy InRelease
Get:2 http://ap-northeast-2.ec2.archive.ubuntu.com/ubuntu jammy-updates InRelease [114 kB]
Get:3 http://ap-northeast-2.ec2.archive.ubuntu.com/ubuntu jammy-backports InRelease [99.8 kB]
Get:4 http://ap-northeast-2.ec2.archive.ubuntu.com/ubuntu jammy/universe amd64 Packages [14.1 MB]
Get:5 http://security.ubuntu.com/ubuntu jammy-security InRelease [110 kB]
Get:6 http://ap-northeast-2.ec2.archive.ubuntu.com/ubuntu jammy/universe Translation-en [5652 kB]
Get:7 http://ap-northeast-2.ec2.archive.ubuntu.com/ubuntu jammy/universe amd64 c-n-f Metadata [286 kB]
Get:8 http://ap-northeast-2.ec2.archive.ubuntu.com/ubuntu jammy/multiverse amd64 Packages [217 kB]
Get:9 http://ap-northeast-2.ec2.archive.ubuntu.com/ubuntu jammy/multiverse Translation-en [112 kB]
Get:10 http://ap-northeast-2.ec2.archive.ubuntu.com/ubuntu jammy/multiverse amd64 c-n-f Metadata [8372 B]
Get:11 http://ap-northeast-2.ec2.archive.ubuntu.com/ubuntu jammy-updates/main amd64 Packages [474 kB]
Get:12 http://ap-northeast-2.ec2.archive.ubuntu.com/ubuntu jammy-updates/main Translation-en [115 kB]
Get:13 http://ap-northeast-2.ec2.archive.ubuntu.com/ubuntu jammy-updates/main amd64 c-n-f Metadata [7056 B]
Get:14 http://ap-northeast-2.ec2.archive.ubuntu.com/ubuntu jammy-updates/restricted amd64 Packages [245 kB]
Get:15 http://ap-northeast-2.ec2.archive.ubuntu.com/ubuntu jammy-updates/restricted Translation-en [37.6 kB]
Get:16 http://ap-northeast-2.ec2.archive.ubuntu.com/ubuntu jammy-updates/restricted amd64 c-n-f Metadata [536 B]
Get:17 http://ap-northeast-2.ec2.archive.ubuntu.com/ubuntu jammy-updates/universe amd64 Packages [196 kB]
Get:18 http://ap-northeast-2.ec2.archive.ubuntu.com/ubuntu jammy-updates/universe Translation-en [66.0 kB]
Get:19 http://ap-northeast-2.ec2.archive.ubuntu.com/ubuntu jammy-updates/universe amd64 c-n-f Metadata [4376 B]
Get:20 http://ap-northeast-2.ec2.archive.ubuntu.com/ubuntu jammy-updates/multiverse amd64 Packages [7000 B]
Get:21 http://ap-northeast-2.ec2.archive.ubuntu.com/ubuntu jammy-updates/multiverse Translation-en [2112 B]
Get:22 http://ap-northeast-2.ec2.archive.ubuntu.com/ubuntu jammy-updates/multiverse amd64 c-n-f Metadata [420 B]
Get:23 http://ap-northeast-2.ec2.archive.ubuntu.com/ubuntu jammy-backports/main amd64 c-n-f Metadata [112 B]
Get:24 http://ap-northeast-2.ec2.archive.ubuntu.com/ubuntu jammy-backports/restricted amd64 c-n-f Metadata [116 B]
Get:25 http://ap-northeast-2.ec2.archive.ubuntu.com/ubuntu jammy-backports/universe amd64 Packages [5416 B]
Get:26 http://ap-northeast-2.ec2.archive.ubuntu.com/ubuntu jammy-backports/universe Translation-en [8160 B]
Get:27 http://ap-northeast-2.ec2.archive.ubuntu.com/ubuntu jammy-backports/universe amd64 c-n-f Metadata [236 B]
Get:28 http://ap-northeast-2.ec2.archive.ubuntu.com/ubuntu jammy-backports/multiverse amd64 c-n-f Metadata [116 B]
Get:29 http://security.ubuntu.com/ubuntu jammy-security/main amd64 Packages [229 kB]
Get:30 http://security.ubuntu.com/ubuntu jammy-security/main Translation-en [56.5 kB]
Get:31 http://security.ubuntu.com/ubuntu jammy-security/main amd64 c-n-f Metadata [3564 B]
Get:32 http://security.ubuntu.com/ubuntu jammy-security/restricted amd64 Packages [203 kB]
Get:33 http://security.ubuntu.com/ubuntu jammy-security/restricted Translation-en [30.4 kB]
Get:34 http://security.ubuntu.com/ubuntu jammy-security/restricted amd64 c-n-f Metadata [512 B]
Get:35 http://security.ubuntu.com/ubuntu jammy-security/universe amd64 Packages [95.3 kB]
Get:36 http://security.ubuntu.com/ubuntu jammy-security/universe Translation-en [33.8 kB]
Get:37 http://security.ubuntu.com/ubuntu jammy-security/universe amd64 c-n-f Metadata [2200 B]
Get:38 http://security.ubuntu.com/ubuntu jammy-security/multiverse amd64 Packages [4192 B]
Get:39 http://security.ubuntu.com/ubuntu jammy-security/multiverse Translation-en [900 B]
Get:40 http://security.ubuntu.com/ubuntu jammy-security/multiverse amd64 c-n-f Metadata [228 B]
Fetched 22.5 MB in 3s (7140 kB/s)
Reading package lists... Done
Building dependency tree... Done
Reading state information... Done
63 packages can be upgraded. Run 'apt list --upgradable' to see them.
ubuntu@ip-172-31-60-34:~$
ubuntu@ip-172-31-60-34:~$ sudo apt upgrade -y
Reading package lists... Done
Building dependency tree... Done
Reading state information... Done
Calculating upgrade... Done
The following NEW packages will be installed:
  linux-aws-headers-5.15.0-1015 linux-headers-5.15.0-1015-aws linux-image-5.15.0-1015-aws linux-modules-5.15.0-1015-aws
The following packages will be upgraded:
  apparmor apt apt-utils base-files cloud-init curl dirmngr git git-man gnupg gnupg-l10n gnupg-utils gpg gpg-agent gpg-wks-client gpg-wks-server gpgconf gpgsm gpgv intel-microcode isc-dhcp-client
  isc-dhcp-common libapparmor1 libapt-pkg6.0 libc-bin libc6 libcurl3-gnutls libcurl4 libfreetype6 libgstreamer1.0-0 libldap-2.5-0 libldap-common libnetplan0 libnss-systemd libnss3 libpam-systemd libpython3.10
  libpython3.10-minimal libpython3.10-stdlib libssl3 libsystemd0 libtirpc-common libtirpc3 libudev1 linux-aws linux-headers-aws linux-image-aws locales motd-news-config netplan.io openssl python-apt-common
  python3-apt python3-gi python3-jwt python3-software-properties python3.10 python3.10-minimal software-properties-common systemd systemd-sysv ubuntu-advantage-tools udev
63 upgraded, 4 newly installed, 0 to remove and 0 not upgraded.
33 standard security updates
Need to get 92.6 MB of archives.
After this operation, 223 MB of additional disk space will be used.

~
~
~
업그레이드 하다 아래와 같은 창이 떴다. 태어나서 처음 본다.
Pending kernel upgrade...
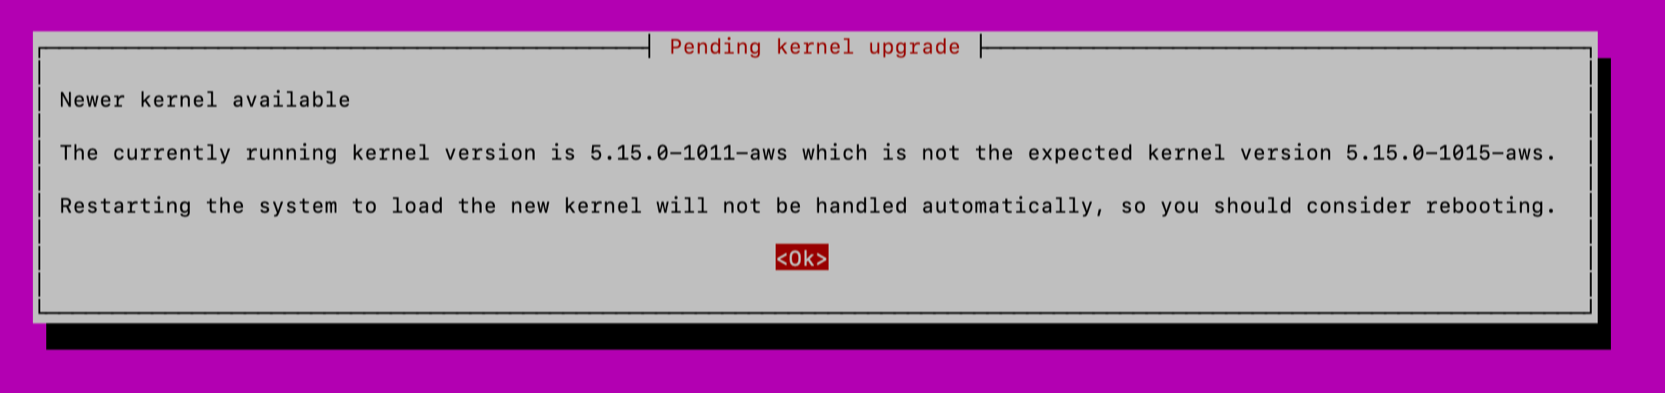
대충 읽어보니 그냥 apt upgrade 하다보니 커널도 업그레이드 된 모양이다. 마지막에보면 consider rebooting 이란다. 일단 OK.
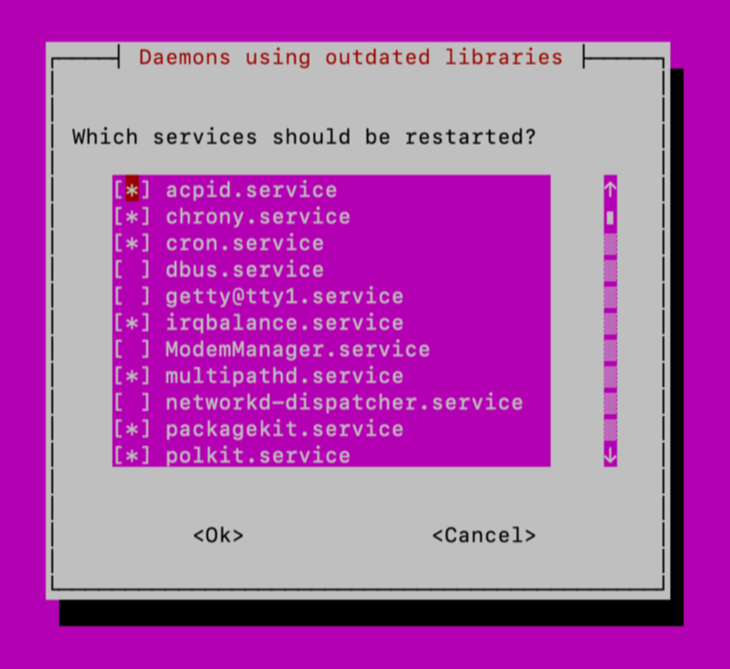
또 핑크색 창이 뜬다. 걍 일단 OK.
완료된 다음에 아까 consider reboot이라 했으니 리부팅을 해주자.
ubuntu@ip-172-31-60-34:~$ sudo reboot
시간이 좀 지나고 다시 SSH 접속해보니 잘 접속이 된다.
궁금해서 기존 접속 메세지와 비교해보니 커널 버전이 업데이트 된게 맞네.
기존 : Welcome to Ubuntu 22.04 LTS (GNU/Linux 5.15.0-1011-aws x86_64)
현재 : Welcome to Ubuntu 22.04.1 LTS (GNU/Linux 5.15.0-1015-aws x86_64)
아무튼 이제 docker를 설치해보자.
3. Docker 설치
구글링해보니 아래와 같이 도커 공홈에서 우분투용 설치 가이드를 제공하고 있다.
https://docs.docker.com/engine/install/ubuntu/
Install Docker Engine on Ubuntu
docs.docker.com
가이드대로 진행해보자.
- Uninstall Old Versions : 기존에 사용중인 docker 관련 툴이 있다면 깨끗이 삭제 한다.
sudo apt-get remove docker docker-engine docker.io containerd runcubuntu@ip-172-31-60-34:~$ sudo apt-get remove docker docker-engine docker.io containerd runc
Reading package lists... Done
Building dependency tree... Done
Reading state information... Done
E: Unable to locate package docker-engine없단다.
- apt 업데이트 하고 필요 라이브러리를 설치하자.
sudo apt updateubuntu@ip-172-31-60-34:~$ sudo apt update
Hit:1 http://ap-northeast-2.ec2.archive.ubuntu.com/ubuntu jammy InRelease
Get:2 http://ap-northeast-2.ec2.archive.ubuntu.com/ubuntu jammy-updates InRelease [114 kB]
Get:3 http://ap-northeast-2.ec2.archive.ubuntu.com/ubuntu jammy-backports InRelease [99.8 kB]
Hit:4 http://security.ubuntu.com/ubuntu jammy-security InRelease
Fetched 214 kB in 1s (390 kB/s)
Reading package lists... Done
Building dependency tree... Done
Reading state information... Done
2 packages can be upgraded. Run 'apt list --upgradable' to see them.
sudo apt-get install ca-certificates url gnupg lsb-releaseubuntu@ip-172-31-60-34:~$ sudo apt-get install ca-certificates url gnupg lsb-release
Reading package lists... Done
Building dependency tree... Done
Reading state information... Done
ca-certificates is already the newest version (20211016).
ca-certificates set to manually installed.
lsb-release is already the newest version (11.1.0ubuntu4).
lsb-release set to manually installed.
curl is already the newest version (7.81.0-1ubuntu1.3).
curl set to manually installed.
gnupg is already the newest version (2.2.27-3ubuntu2.1).
gnupg set to manually installed.
0 upgraded, 0 newly installed, 0 to remove and 2 not upgraded.
- docker 설치를 위한 repository 업데이트를 하자.
sudo mkdir -p /etc/apt/keyrings
curl -fsSL https://download.docker.com/linux/ubuntu/gpg | sudo gpg --dearmor -o /etc/apt/keyrings/docker.gpg
echo "deb [arch=$(dpkg --print-architecture) signed-by=/etc/apt/keyrings/docker.gpg] https://download.docker.com/linux/ubuntu \
  $(lsb_release -cs) stable" | sudo tee /etc/apt/sources.list.d/docker.list > /dev/null
- apt update 후 docker-ce와 필요 라이브러리들을 설치하자.
sudo apt-get update
sudo apt-get install -y docker-ce docker-ce-cli containerd.io docker-compose-plugin
- 정상 설치 되었는지 테스트 해보자.
ubuntu@ip-172-31-60-34:~$ sudo docker run hello-world
Unable to find image 'hello-world:latest' locally
latest: Pulling from library/hello-world
2db29710123e: Pull complete
Digest: sha256:53f1bbee2f52c39e41682ee1d388285290c5c8a76cc92b42687eecf38e0af3f0
Status: Downloaded newer image for hello-world:latest

Hello from Docker!
This message shows that your installation appears to be working correctly.

To generate this message, Docker took the following steps:
 1. The Docker client contacted the Docker daemon.
 2. The Docker daemon pulled the "hello-world" image from the Docker Hub.
    (amd64)
 3. The Docker daemon created a new container from that image which runs the
    executable that produces the output you are currently reading.
 4. The Docker daemon streamed that output to the Docker client, which sent it
    to your terminal.

To try something more ambitious, you can run an Ubuntu container with:
 $ docker run -it ubuntu bash

Share images, automate workflows, and more with a free Docker ID:
 https://hub.docker.com/

For more examples and ideas, visit:
 https://docs.docker.com/get-started/

ubuntu@ip-172-31-60-34:~$
굳.
- 추가로 난 docker-compose로 구성할거니까 docker-compose도 설치해보자.
sudo apt install -y docker-compose
준비끝.
4. docker-compose.yml 파일 작성
난 직관적이고 명시적인걸 좋아하는 것 같다. (근데 아닌거같기도한데..)
docker run 으로 직접 실행하는 것 보다 compose 파일로 작성해두는게 마음이 편하다.
그럼 GitLab을 구동시킬 경로를 생성하고 docker-compose.yml 파일을 작성해보자.
- ubuntu ec2 인스턴스의 기본계정은 ubuntu이니 ubuntu 홈 디렉토리(/home/ubuntu/)에 gitlab 폴더를 만들어 주자.
mkdir gitlab && cd gitlab
- 구글링해보니 gitlab 공홈에서 gitlab-ce의 docker-compose 파일 샘플 파일을 제공하고 있다.
https://docs.gitlab.com/ee/install/docker.html
GitLab Docker images | GitLab
Documentation for GitLab Community Edition, GitLab Enterprise Edition, Omnibus GitLab, and GitLab Runner.
docs.gitlab.com
- 위 샘플을 참고해 작성해보자.
- external_url : gitlab 접속시 사용될 URL. 도메인을 따로 쓰지 않을 테니 ec2 인스턴스의 공인 IP(탄력적IP)를 기재해주자.
- gitlab_rails['initial_root_password'] : 초기 root 계정 패스워드.
- volumes : 현재 디렉토리(/home/ubuntu/gitlab)에 폴더들이 생성되도록 경로를 수정해주자.
version: '3.6'
services:
  web:
    image: gitlab/gitlab-ce:15.2.1-ce.0
    container_name: gitlab
    restart: always
    environment:
      GITLAB_OMNIBUS_CONFIG: |
        external_url 'http://43.200.25.92'
    ports:
      - 80:80
      - 443:443
      - 22:22
    volumes:
      - './config:/etc/gitlab'
      - './logs:/var/log/gitlab'
      - './data:/var/opt/gitlab'
    shm_size: '256m'
- docker-compose 실행!
sudo docker-compose -p gitlab up -dubuntu@ip-172-31-60-34:~/gitlab$ sudo docker-compose -p gitlab up -d
Creating network "gitlab_default" with the default driver
Pulling web (gitlab/gitlab-ce:15.2.1-ce.0)...
15.2.1-ce.0: Pulling from gitlab/gitlab-ce
d7bfe07ed847: Pull complete
0aecde402e0f: Pull complete
6940a3637561: Pull complete
74d5a6c60980: Pull complete
71d605039f0c: Pull complete
68738062a92a: Pull complete
bcab3b38ecf4: Pull complete
81d80ac1d74b: Pull complete
Digest: sha256:7454ce508f4d24c325d3c7e638575139438e44b5adc4908c22612b44d8952786
Status: Downloaded newer image for gitlab/gitlab-ce:15.2.1-ce.0
Creating gitlab ... done
ubuntu@ip-172-31-60-34:~/gitlab$
- 잘 실행되었는지 확인해보자.
ubuntu@ip-172-31-60-34:~/gitlab$ sudo docker ps
CONTAINER ID   IMAGE                          COMMAND             CREATED          STATUS                             PORTS                                                                                                                           NAMES
3a124ef2e17f   gitlab/gitlab-ce:15.2.1-ce.0   "/assets/wrapper"   13 seconds ago   Up 12 seconds (health: starting)   0.0.0.0:80->80/tcp, :::80->80/tcp, 22/tcp, 0.0.0.0:443->443/tcp, :::443->443/tcp, 0.0.0.0:49156->1342/tcp, :::49156->1342/tcp   gitlab
ubuntu@ip-172-31-60-34:~/gitlab$
굳.
- gitlab 웹에 접속해보자.
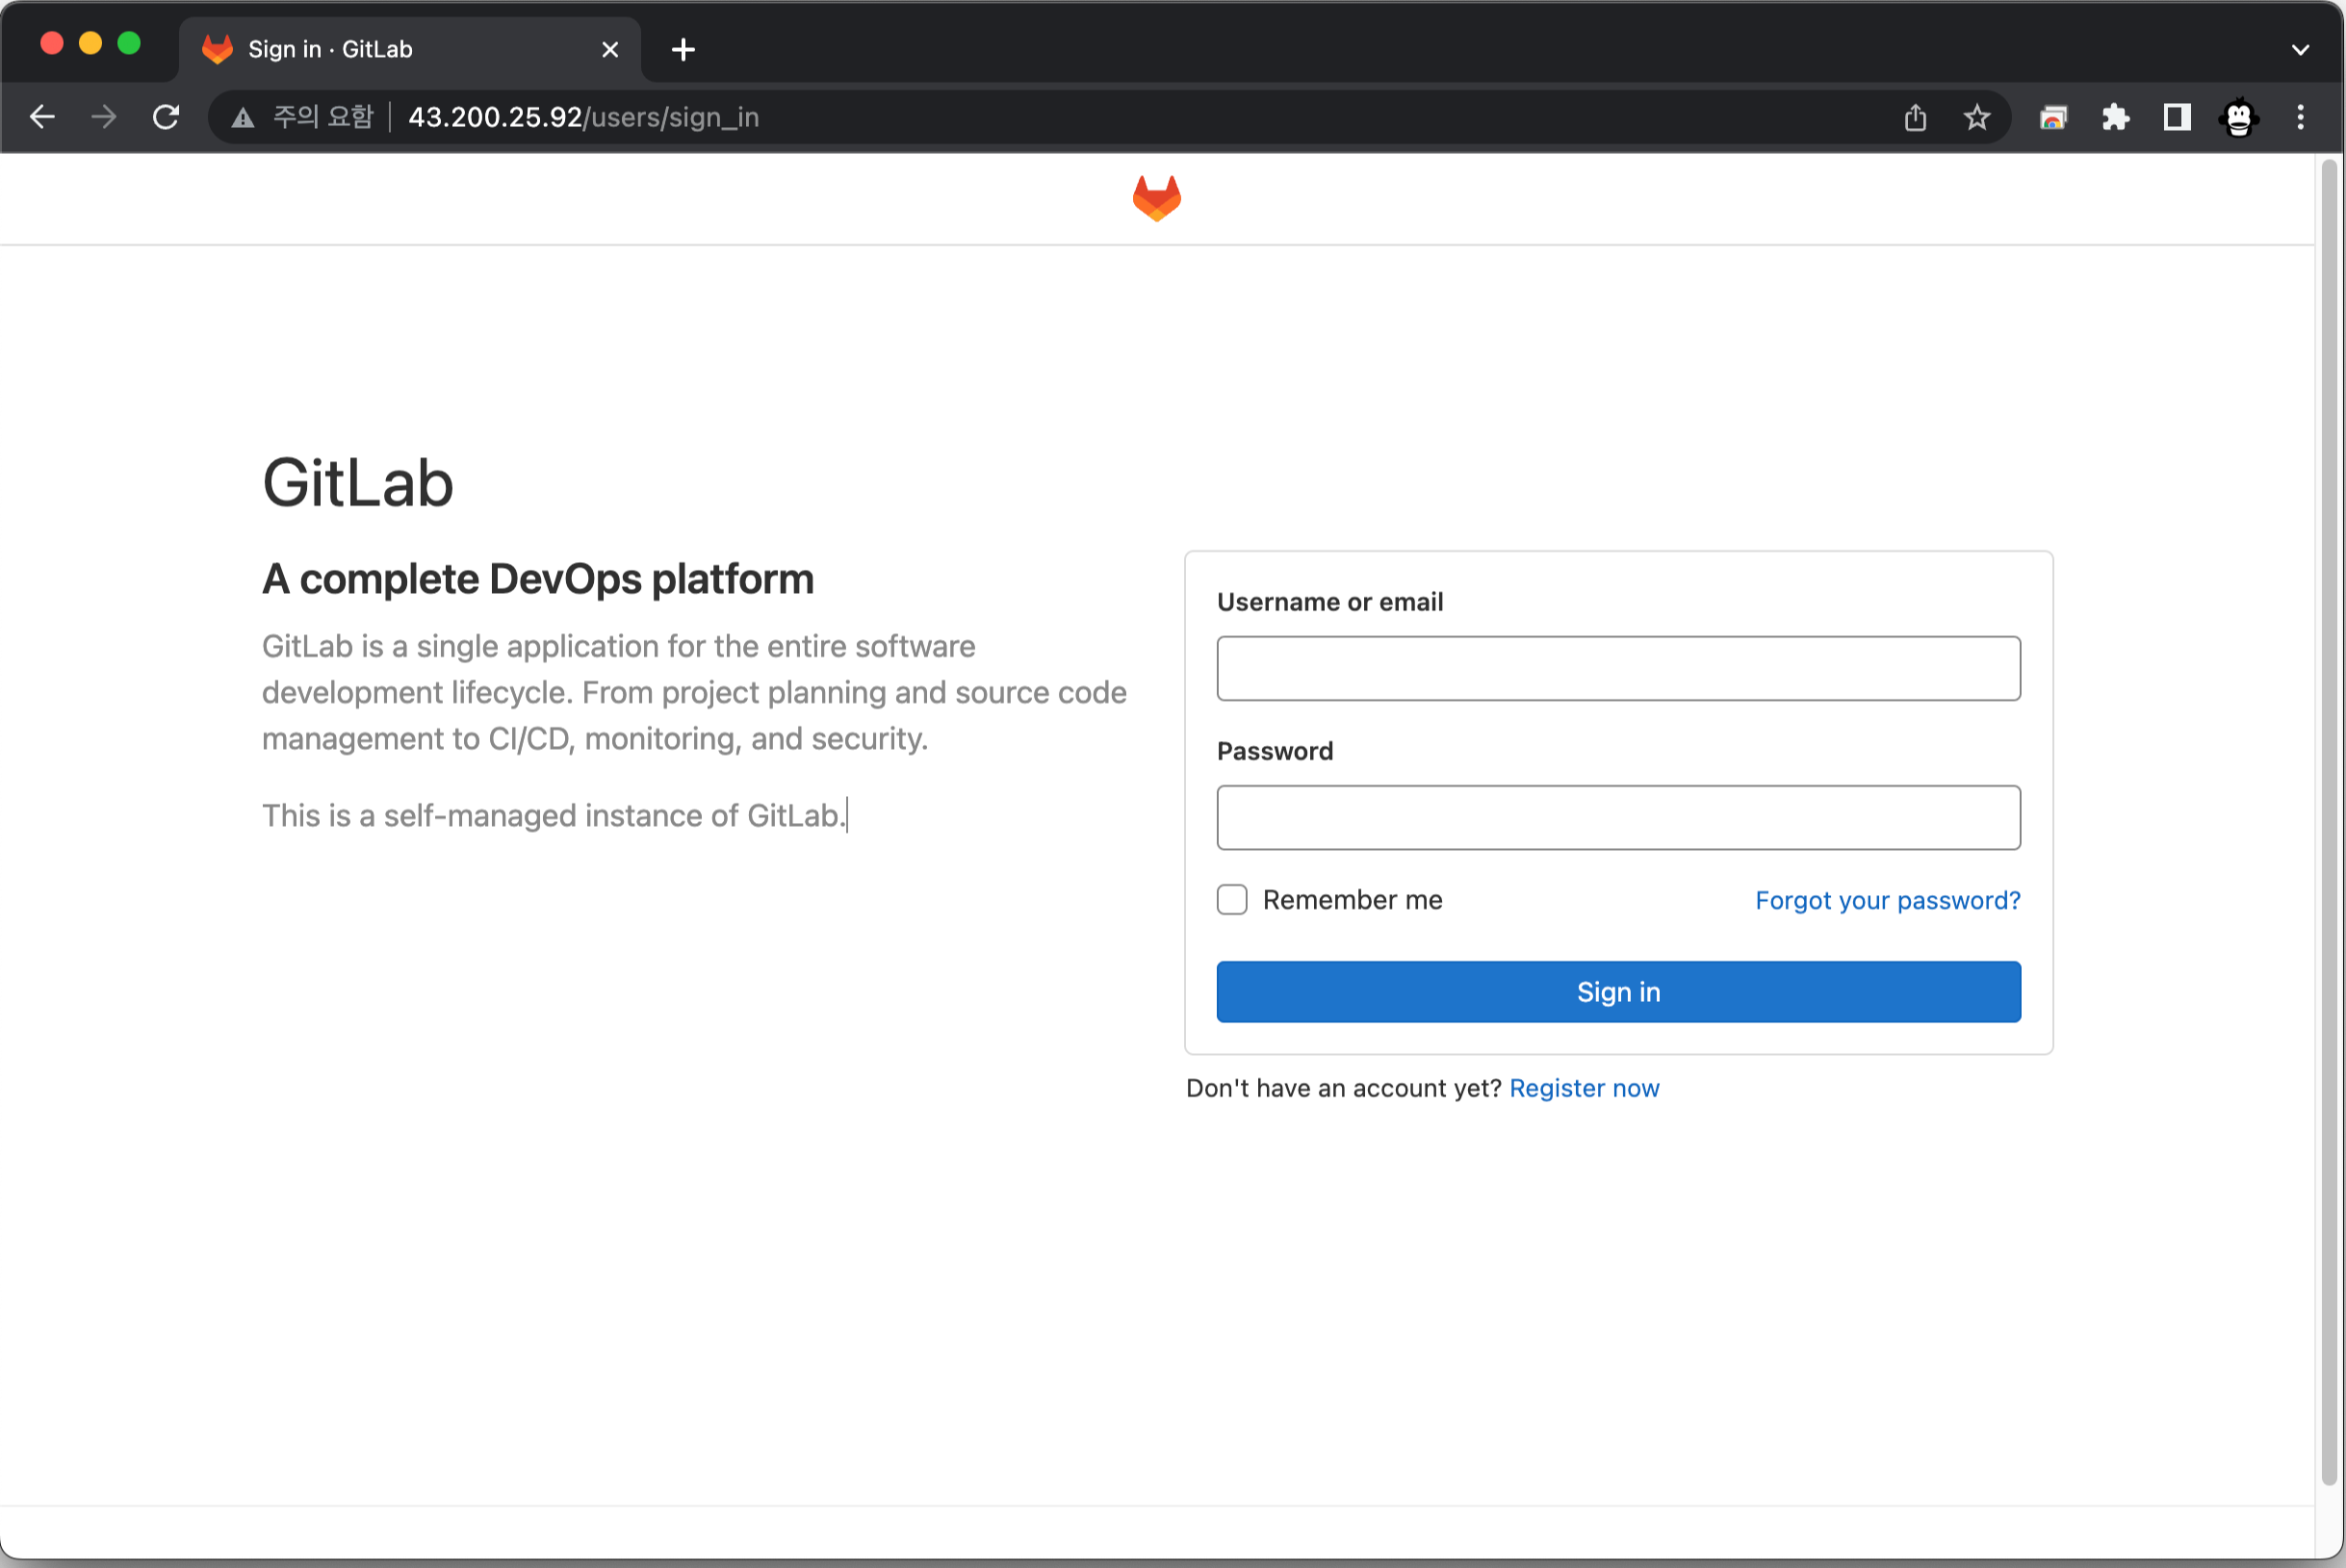
굳.
혹시 docker 실행은 잘되었는데 웹접속이 안되는 경우가 있다면 AWS 보안그룹 정책을 꼭 확인해보길.
필자도 지금 AWS 보안그룹이 개발PC에서만 all-permit인 상태이기 때문에 다른 PC에선 접속이 안될거다.
다른 PC에서도 접속이 필요하다면 보안그룹에 HTTP 정책을 추가하면 된다.
끝.
2022.08.01 - [devops] - GitLab + Teamcity + Docker + AWS CI/CD 구축하기 (1)
2022.08.01 - [devops] - GitLab + Teamcity + Docker + AWS CI/CD 구축하기 (2) - AWS EC2 구축
2022.08.01 - [devops] - GitLab + Teamcity + Docker + AWS CI/CD 구축하기 (3) - GitLab 설치
2022.08.02 - [devops] - GitLab + Teamcity + Docker + AWS CI/CD 구축하기 (4) - Teamcity 설치
2022.08.05 - [devops] - GitLab + Teamcity + Docker + AWS CI/CD 구축하기 (5) - GitLab Teamcity 연동
2022.08.05 - [devops] - GitLab + Teamcity + Docker + AWS CI/CD 구축하기 (6) - Teamcity 배포 구성
'devops' 카테고리의 다른 글
| GitLab + Teamcity + Docker + AWS CI/CD 구축하기 (6) - Teamcity 배포 구성 (0) | 2022.08.05 |
|---|---|
| GitLab + Teamcity + Docker + AWS CI/CD 구축하기 (5) - GitLab Teamcity 연동 (0) | 2022.08.05 |
| GitLab + Teamcity + Docker + AWS CI/CD 구축하기 (4) - Teamcity 설치 (0) | 2022.08.02 |
| GitLab + Teamcity + Docker + AWS CI/CD 구축하기 (2) - AWS EC2 구축 (0) | 2022.08.01 |
| GitLab + Teamcity + Docker + AWS CI/CD 구축하기 (1) (0) | 2022.08.01 |


댓글